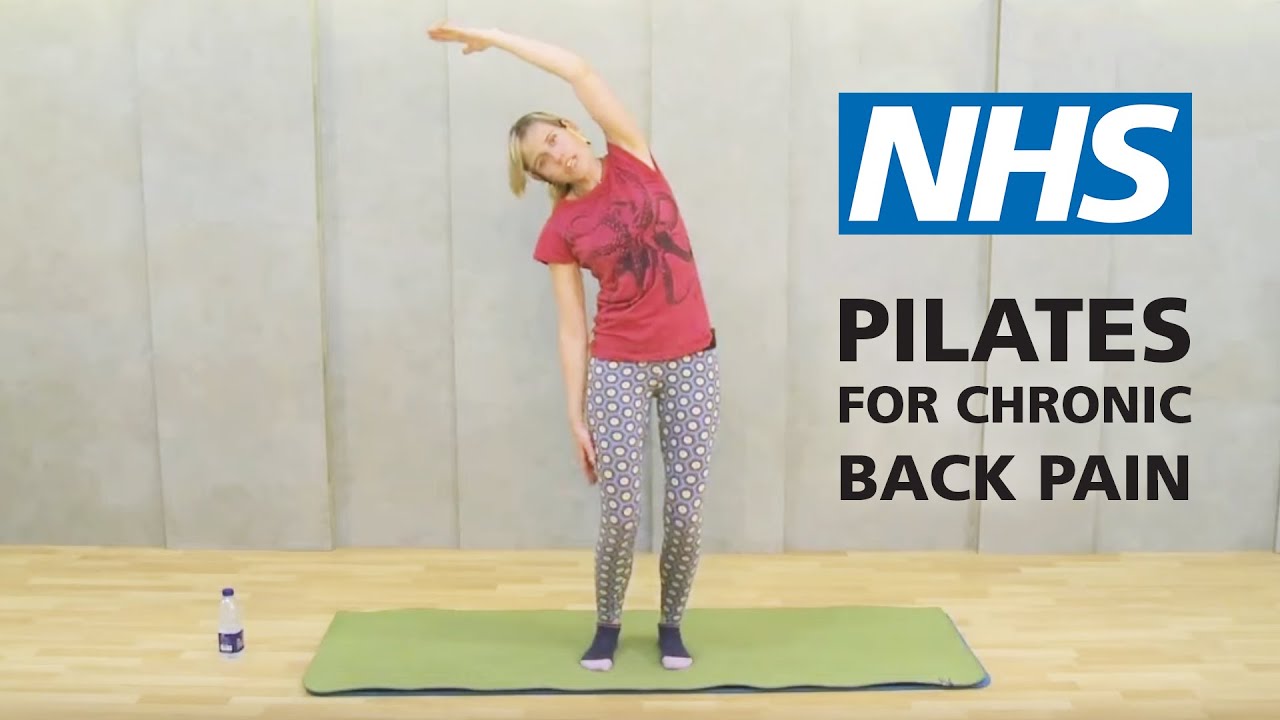
📺 Today’s recommended deep-dive video: https://www.youtube.com/watch?v=zVjKoDJT8pc
Reclaiming Your Spine: A Pilates Blueprint for Chronic Back Pain
Chronic back pain often stems from a cycle of poor posture, injury, and the subsequent “guarding” of the spine that leads to debilitating rigidity. This structured Pilates approach focuses on gentle mobilization, core stabilization, and glute activation to break that cycle and restore fluid movement.
Core Question: How can low-impact Pilates movements safely stabilize the spine and alleviate chronic back tension?
Highlights
- Posture First: Establishing parallel alignment and a neutral pelvis is the essential prerequisite for all back-safe exercises.
- Controlled Mobilization: Utilizing modified roll-downs and pelvic “clocks” to hydrate spinal discs without overstretching sensitive tissues.
- The Glute Connection: Strengthening the posterior chain to ensure the pelvis provides a stable base for the lower back.
- Safe Transitions: Learning specific mechanical cues for getting on and off the floor to prevent acute flare-ups during exercise.
⏱️ Reading time: approx. 5 minutes · Saves you about 24 minutes vs. watching.
Want to take notes while watching? Click the image below and let AI Notebook capture the key points for you 👇

The Foundation of Alignment
Establishing the Neutral Frame
Before any movement begins, you must establish a parallel alignment by bringing the feet together, opening the toes, and then the heels. This creates a stable base where the knees remain soft, preventing the “locking” that often sends jarring tension directly into the lumbar spine.
Draw your belly button toward the spine to engage the deep transversus abdominis.
Imagine a string pulling you upward from the crown of your head, lengthening the vertebrae while allowing the shoulders to remain heavy and relaxed. This sense of elongation is the primary defense against the compressive forces that characterize most chronic back conditions.

💡 Digging Deeper
Q: Why are soft knees important for back pain?
A: Locking the knees tilts the pelvis forward, which increases the arch in the lower back and compresses the lumbar vertebrae.
Q: What does “drawing the abs to the spine” actually do?
A: It activates the deep core muscles that act as a natural corset, providing internal support for the spine.
Q: How should the jaw be positioned?
A: Keep the jaw in line with the neck—avoid jutting it forward, as this creates tension in the upper cervical spine.
Mobilizing the Mid and Upper Back
The Modified Roll-Down
Standard roll-downs can be treacherous for those with chronic issues, so we utilize a wide-leg, hand-supported version. By resting your hands on your thighs and keeping a flat back as you descend, you transfer the weight of your torso into your legs rather than your lower discs.
Once at the bottom, scoop the abs and round the spine to come up.
This “scoop” uses the glutes and abdominal wall to peel the spine back to a vertical position, ensuring the lower back never hangs unsupported in space. It is a functional movement designed to build confidence in spinal flexion.
4-Point Kneeling and Rotation
Getting to the floor safely is a skill in itself; step forward, lower to one knee using your thigh for support, and gently transition to all fours. In the “four-point kneeling” position, the Cat Stretch offers a low-impact way to introduce mobility without the pressure of gravity on a vertical spine.
Movement encourages blood flow, which is the key to healing rigid, “protected” tissues.
By “threading the needle”—sliding one arm under the other while kneeling—you introduce thoracic rotation. This is vital because a stiff mid-back often forces the lower back to move more than it should, leading to wear and tear.

Stability and the Lateral Line
Core Stability and the Half-Plank
Stability is the ability to resist unwanted movement, which we practice through the “Bird-Dog” exercise by extending the opposite arm and leg while keeping the pelvis level. You should imagine a glass of water resting on your lower back; the goal is to move the limbs without spilling a drop.
This teaches the brain to decouple limb movement from spinal movement.
For those ready to progress, the half-plank on the elbows provides a controlled load. By lifting the belly button away from the mat while resting on the knees, you fire up the entire anterior chain without the high-pressure risk of a full plank if your form is not yet perfect.
Side-Lying Strength
The side of the body is often neglected, yet the glutes and obliques are the primary stabilizers of the pelvis. Exercises like “Clams” and side-leg circles target the gluteus medius, a muscle that, when weak, is a frequent silent contributor to chronic lower back instability.
Focus on lifting the waistline off the mat to maintain a neutral pelvic “box.”
| Exercise | Primary Focus | Back Safety Cue |
|---|---|---|
| Clams | Glute strength/Hip mobility | Keep top hip stacked; don’t roll back. |
| Leg Circles | Hip socket lubrication | Move from the hip, not the waist. |
| Leg Lifts | Waistline and inner thighs | Bring legs slightly forward to protect the lower back. |

Pelvic Precision and Recovery
The Pelvic Clock
Lying on your back, imagine your pelvis is a clock face with 12 at the belly button and 6 at the pubic bone. By gently tilting between these points, you “massage” the sacrum and encourage the lumbar spine to move through its full, safe range of motion.
This is the ultimate “emergency” exercise for high-pain days.
Moving into full circles (12 to 3 to 6 to 9) helps identify where you are holding tension. If the movement feels “clunky” in one corner, it indicates a muscular imbalance that needs gentle, repetitive attention to smooth out.
Spinal Curls and Final Release
The Spine Curl (or Bridge) should be a sequential movement, peeling the spine off the mat one vertebra at a time like a piece of Velcro. This articulation ensures that no single segment of the back is taking the entire load of the lift.
Finish with a glute stretch by crossing one ankle over the opposite knee and hugging the legs in.
This final release targets the piriformis and hamstrings, which often tighten as a secondary response to back pain. Ending with a safe transition to standing—using the hands on the thighs to “walk” the torso up—ensures that the benefits of the session aren’t lost by a sudden, jerky movement.

Key Takeaways
Chronic back pain often creates a “fear-avoidance” cycle where we stop moving to prevent pain, only to become stiffer and more prone to injury. Pilates breaks this cycle by prioritizing stability and alignment over high-intensity strain. By focusing on the deep core and the glutes, we provide the spine with the structural support it needs to stop overworking.
Consistency is more important than intensity when dealing with chronic conditions. Gentle daily mobilization, such as pelvic tilts and the cat stretch, can significantly reduce morning stiffness. Remember to always use your “abs to the spine” cue during transitions, especially when moving from the floor to standing, to keep the lower back protected.
Ultimately, the goal is to restore the body’s confidence in movement. By listening to your body’s limitations and gradually increasing the repetitions of these controlled exercises, you can shift from a state of “guarding” your back to a state of functional, pain-free strength.
Q&A
Q1: How often should I perform these exercises?
A1: For chronic issues, a daily 10–15 minute routine is often more effective than one long session per week, as it maintains consistent joint mobility.
Q2: What if I feel pain during the pelvic tilts?
A2: Keep the movement smaller. Even a micro-tilt that is invisible to the eye still engages the correct muscles and encourages subtle blood flow.
Q3: Is it better to do the plank on my knees or toes?
A3: Always start on your knees. It is better to have perfect form on your knees than to strain your lower back by attempting a full plank too early.
Q4: Why do my hips click during the hip circles?
A4: This often happens if the leg is moving too far. Reduce the size of the circle and focus on keeping the pelvis absolutely still using your abdominals.
Q5: Can I do the supine stretches in bed?
A5: Yes. Pelvic tilts and knee hugs are excellent to perform before getting out of bed to “wake up” the spine and relieve overnight stiffness.
Q6: How do I know if my pelvis is “neutral”?
A6: When lying down, your hip bones and pubic bone should be on the same horizontal plane, creating a small, natural gap under your lower back.
Q7: What should I do if my back “goes out” regularly?
A7: Focus heavily on the glute-strengthening exercises (like clams), as weak glutes are often the root cause of recurrent lower back instability.