Scanning documents using your iPhone is an easy way to convert physical items into digital items. Whether it’s important receipts, school worksheets, or family photos, with the right scanning app and some simple steps, you can declutter your paper mess and neatly organize everything in the cloud.
So, imagine having a free cloud storage tool that not only helps you scan documents but also frees up space on your device, allowing easy access from anywhere via desktop, laptop, or additional mobile devices. Sounds like a no-brainer, right? Well, that’s what TeraBox offers. Let’s see how to effortlessly scan documents using your iPhone with TeraBox.
When Should I Use a Scanner?
When do you find yourself reaching for a scanner? Simply put, anytime you have a physical document that you want to convert into a digital format, a scanner comes in handy.
1. Old family photos
2. Diary entries
3. IDs and passports
4. Insurance documents
5. School forms and transcripts
6. Legal contracts
7. Financial papers
8. Medical records
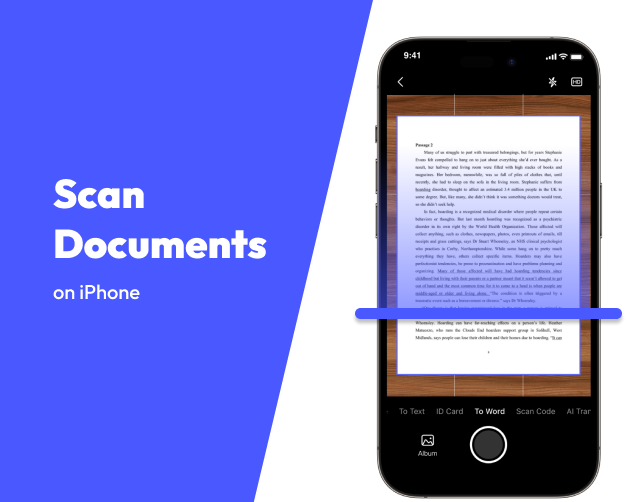
With the right scanner app, you can quickly convert paper into organized digital files. Thankfully, TeraBox now supports scanning directly from the iPhone camera to your cloud storage.

How to Scan Documents on iPhone Using TeraBox?
Follow these simple steps to get started:
1. Download TeraBox from the App Store and open it on your iPhone.
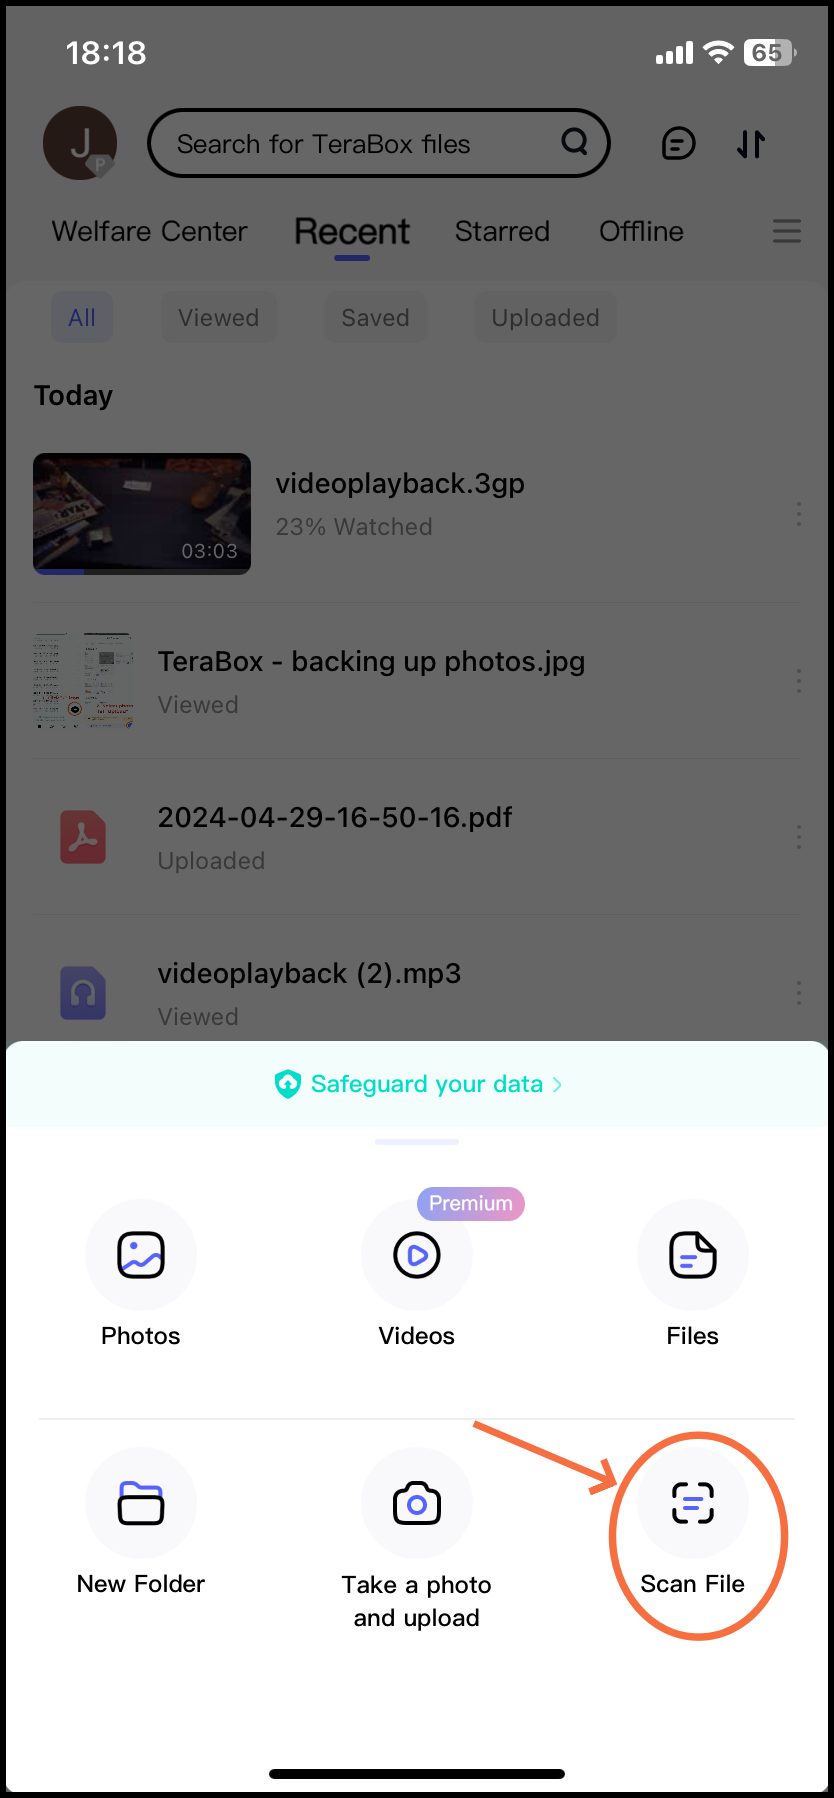
2. Tap the “+” button and select “Scan File” to start the scanning process.
3. Take a picture of the content you want to scan with your TeraBox.
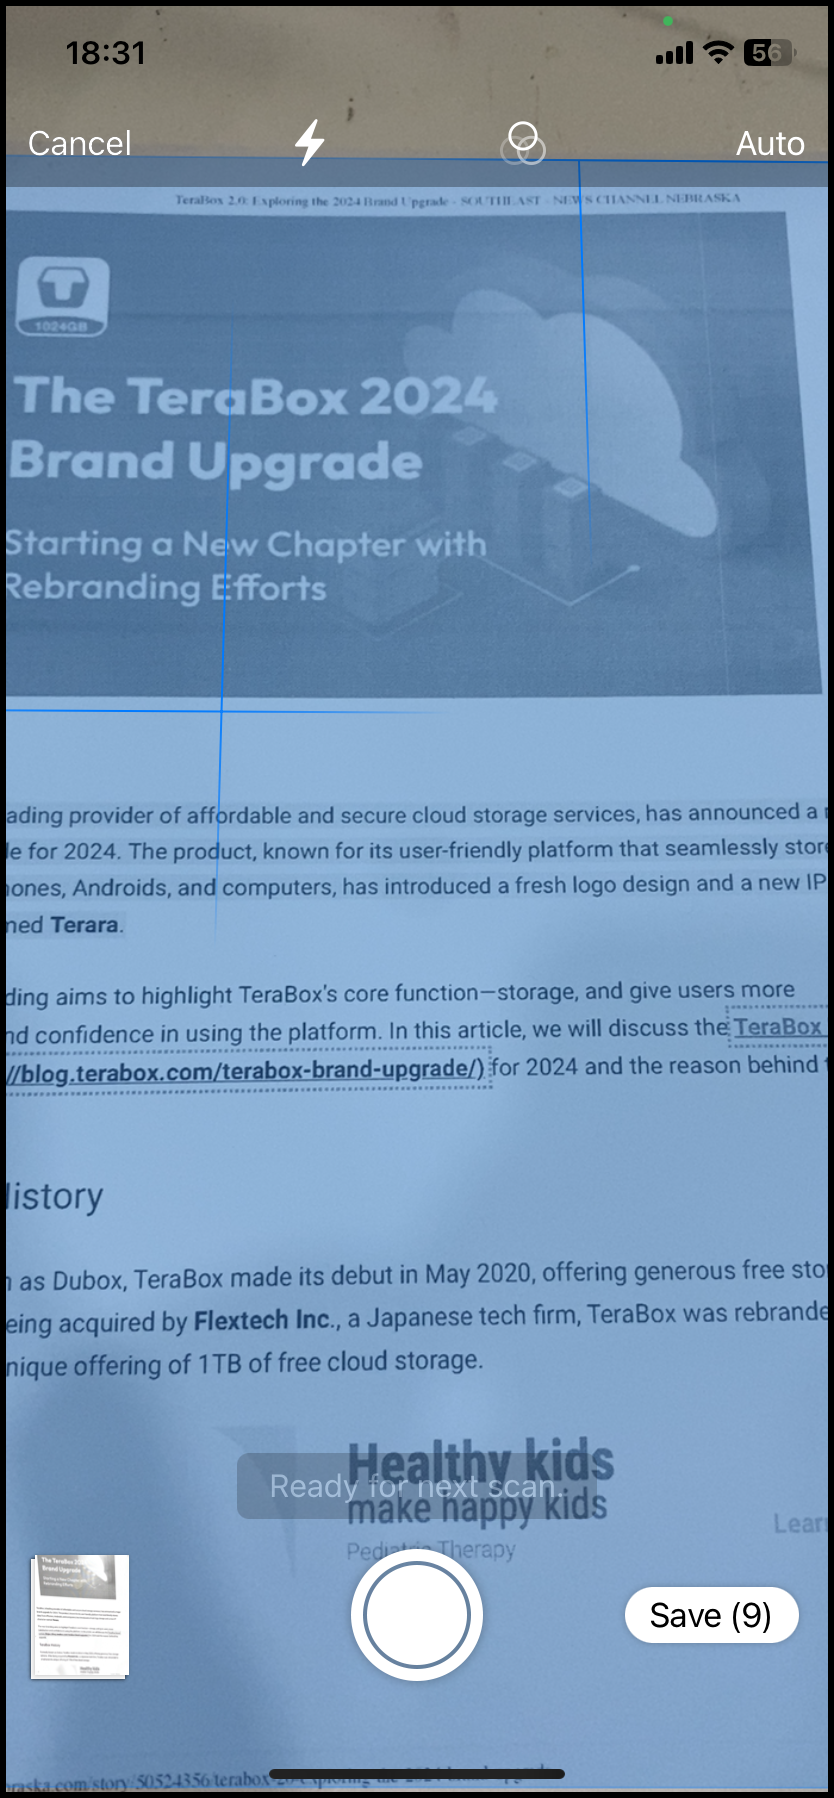
4. If needed, you can make adjustments such as cropping, rotating, adding filters, or retaking the picture.
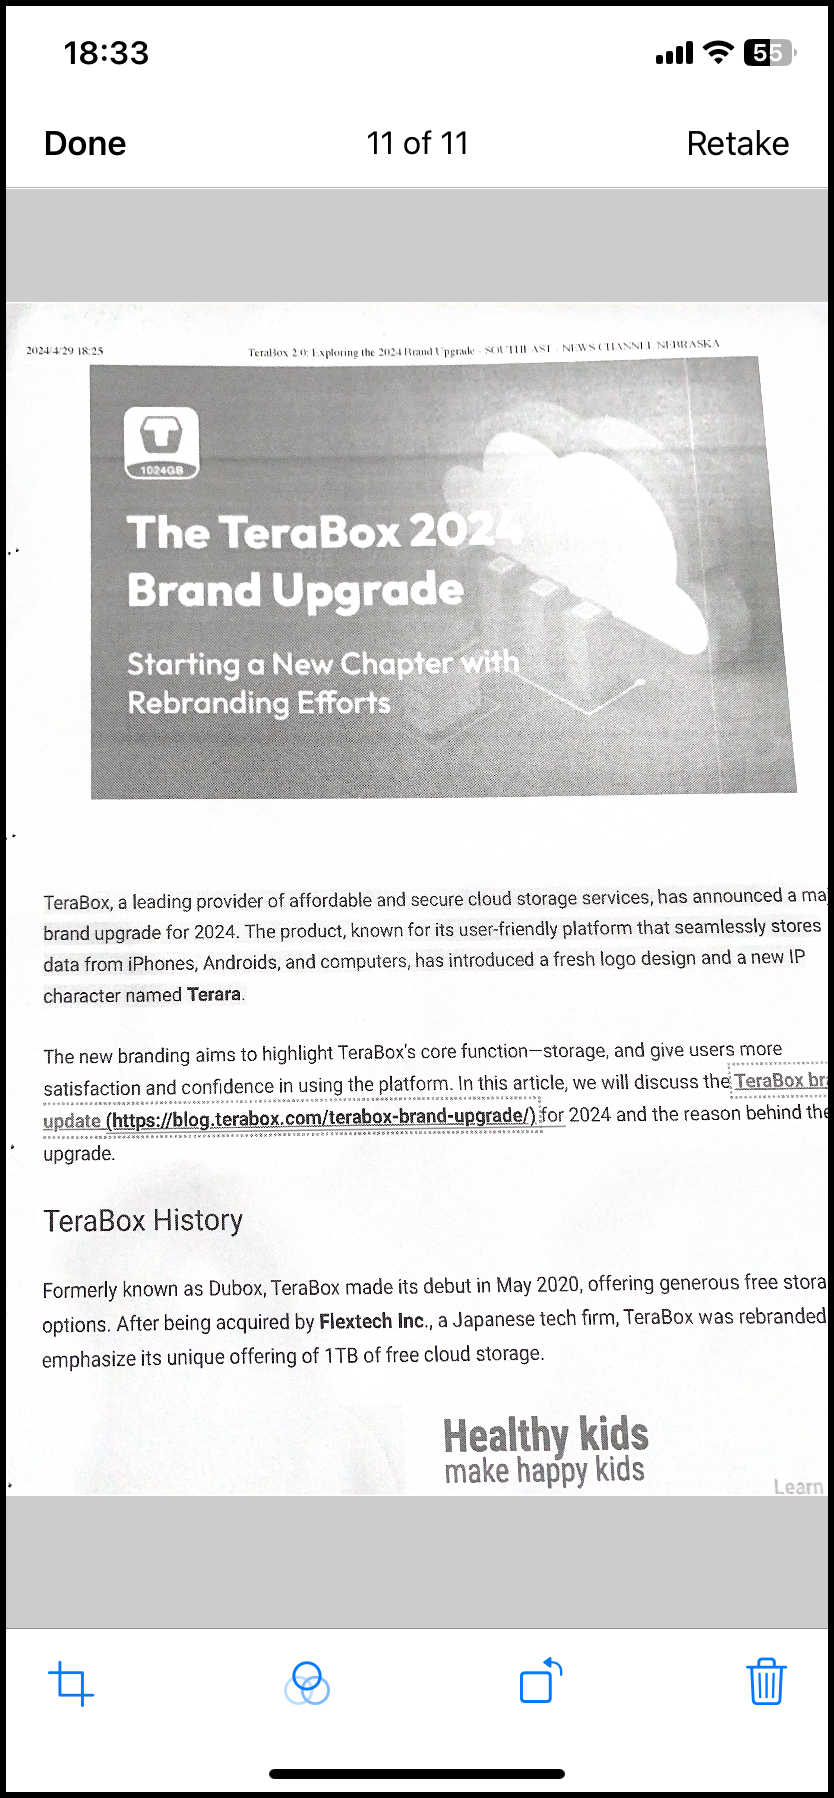
5. Once satisfied, tap “Save” to confirm the scan.
6. Then, you can name the scanned file and choose the desired file type and quality.
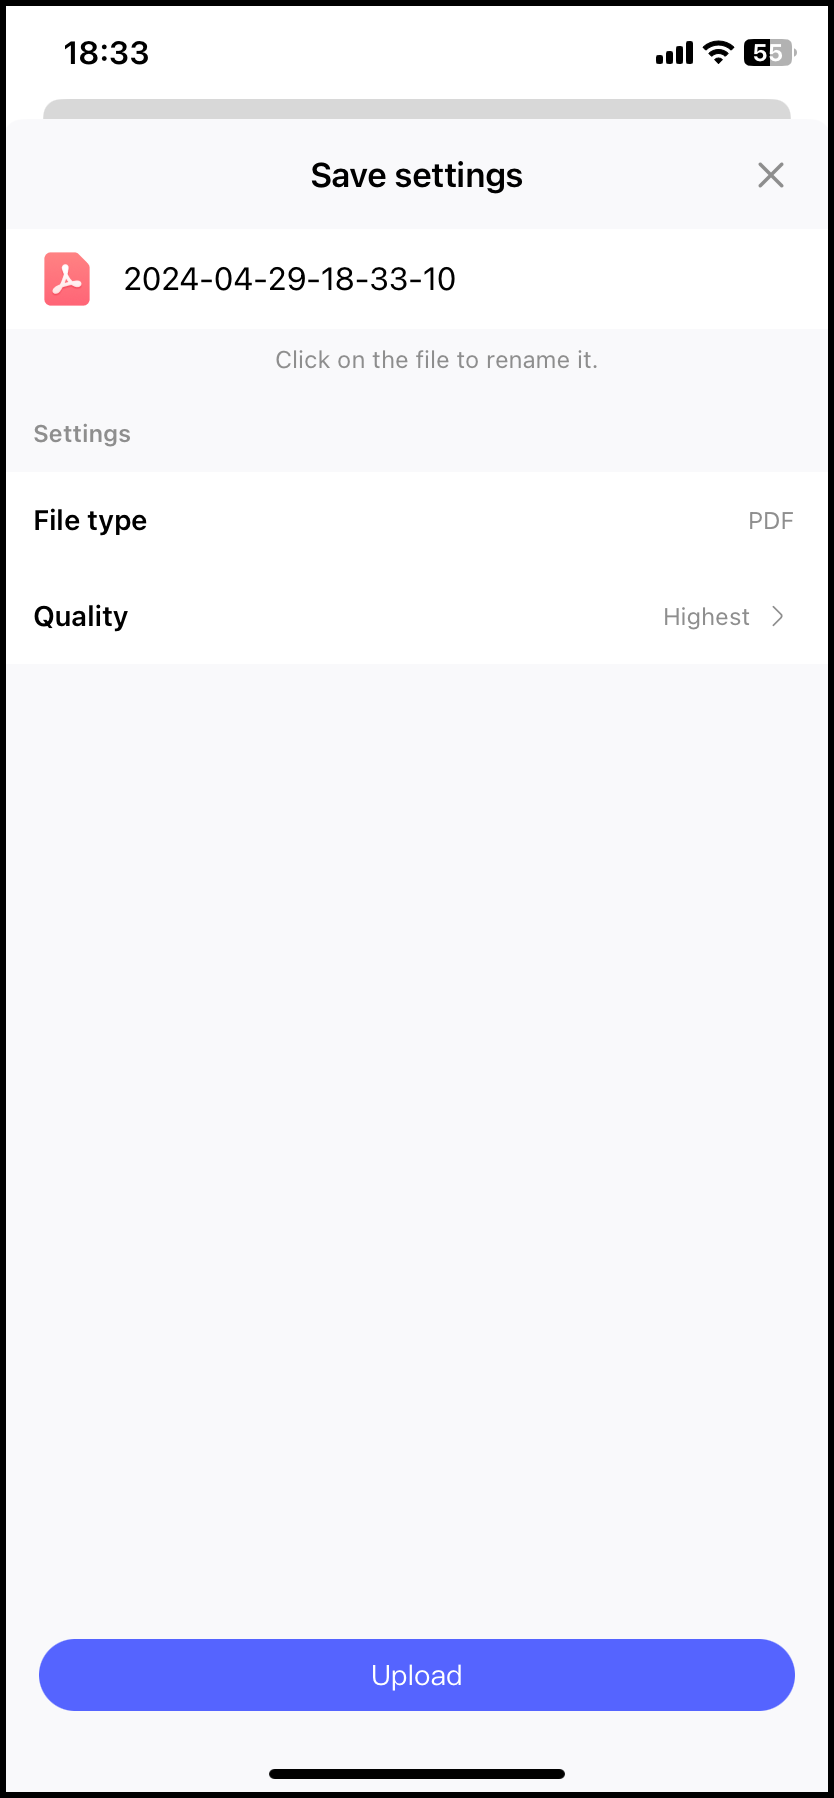
7. After completing the scan, tap “Upload” at the bottom of the screen.
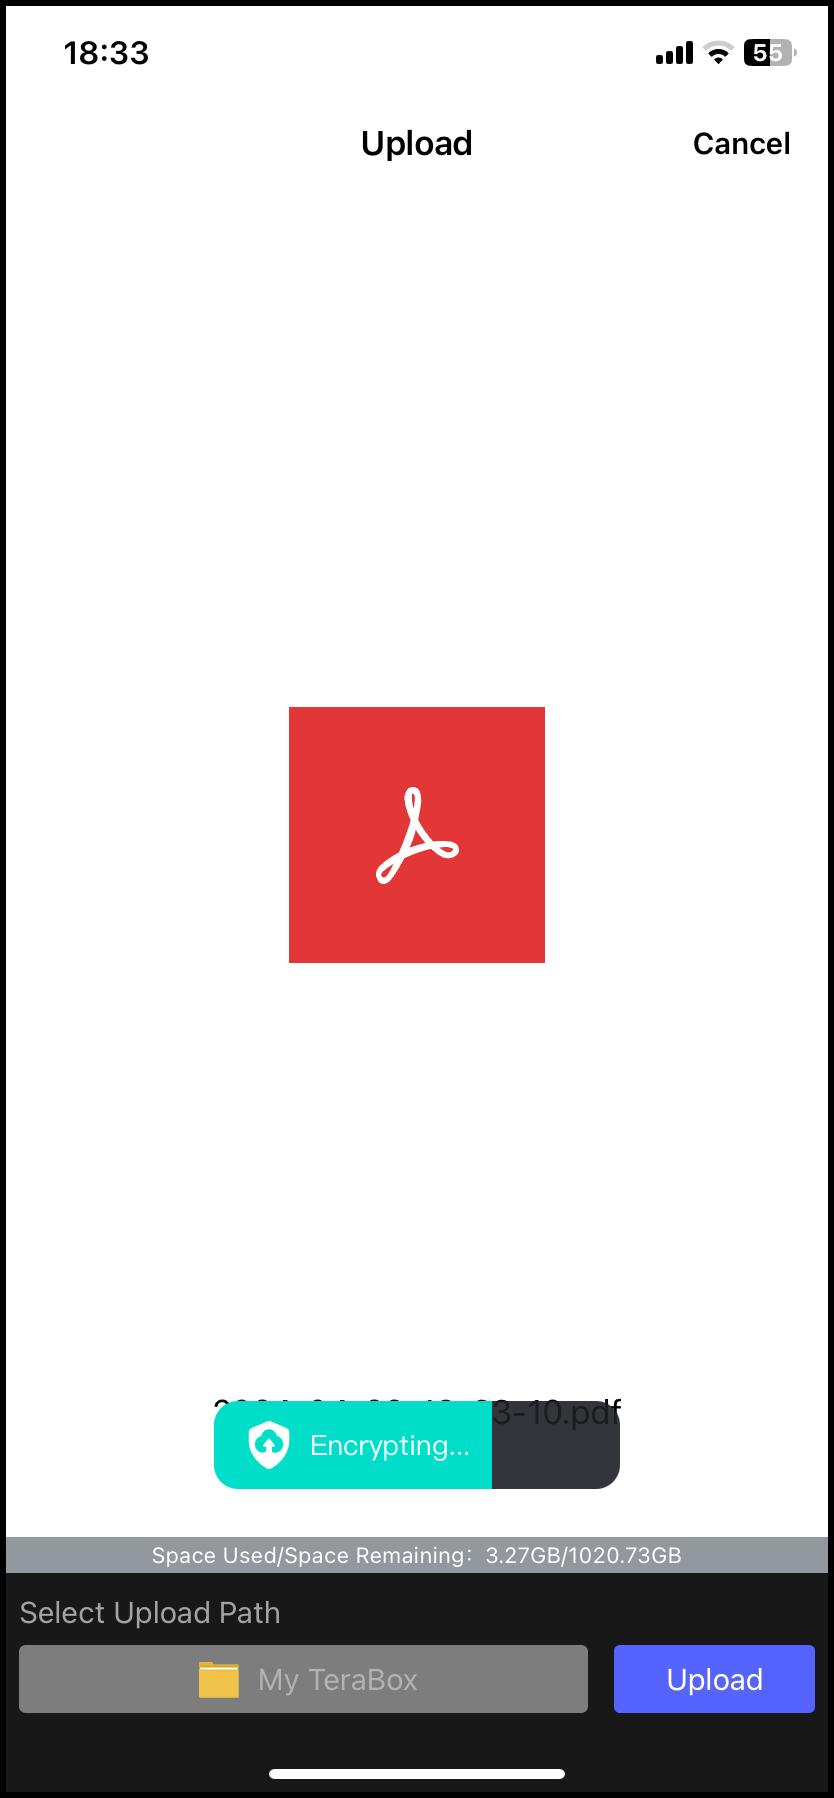
8. Now, your scanned file will be saved to TeraBox.
Currently, TeraBox only supports scanning documents on iOS. We’re currently working on bringing this feature to Android as well.
Where to find scanned documents from TeraBox?
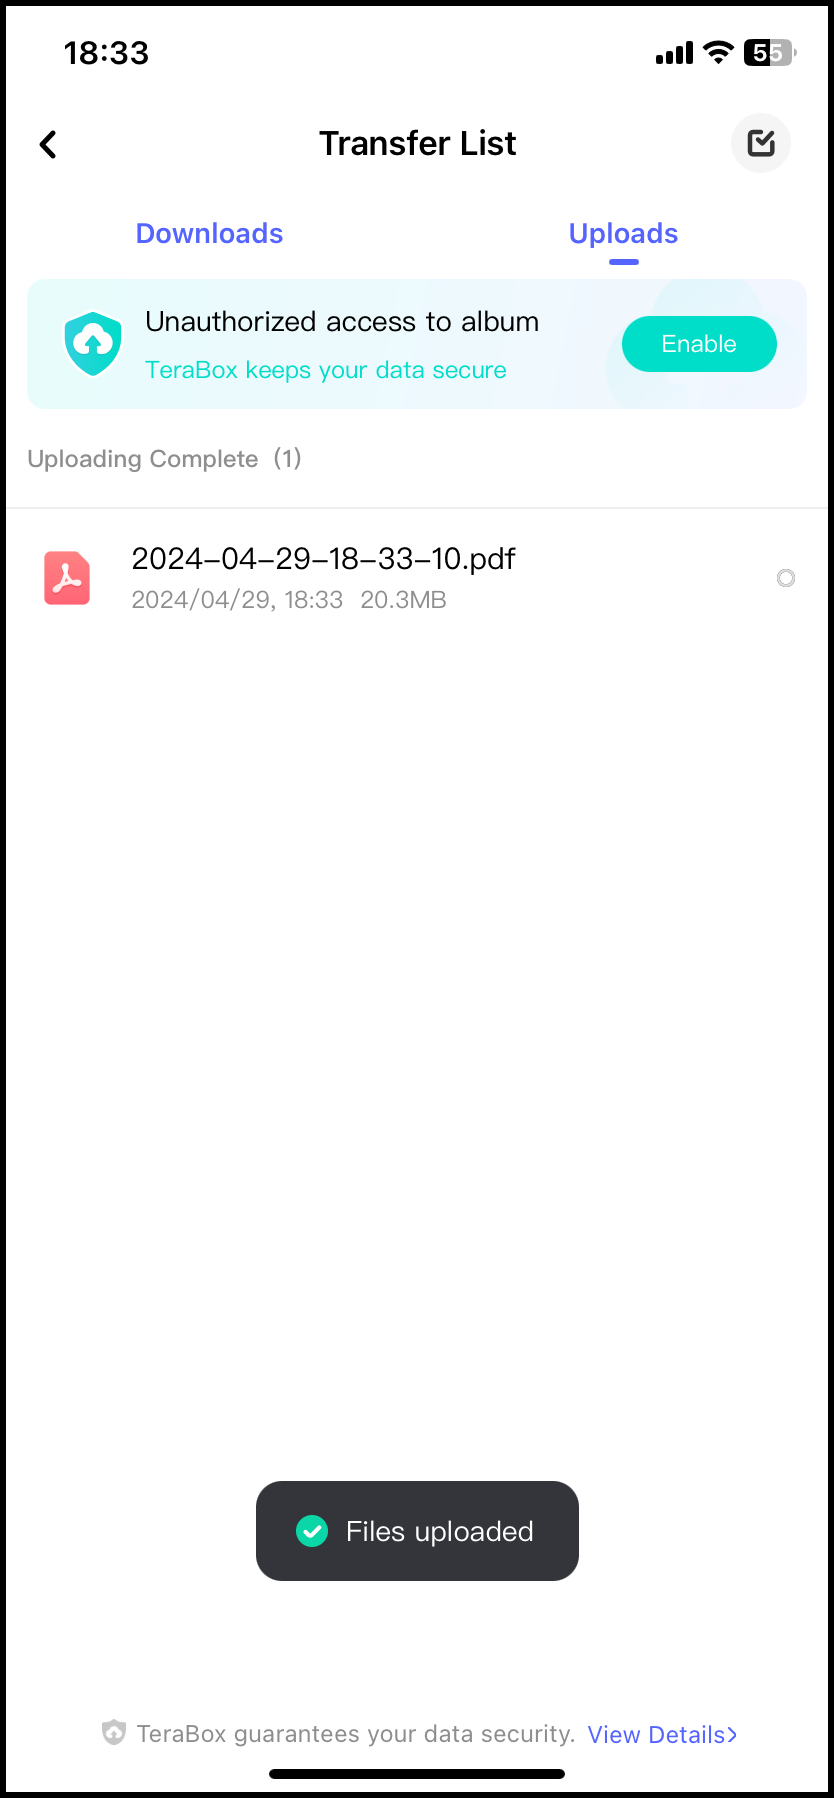
Once you’ve scanned physical documents into TeraBox, you’ll want to know how to easily find and access those digital files. Here are two simple ways:
1. Go to the folder you saved them in.
2. Check the “Transfer List” for uploads.
Additional Document Scanning Options
While TeraBox’s in-app scanning is quite user-friendly, there are other scanning methods you can try:
Scanning apps like Genius Scan offer more advanced editing tools and OCR capabilities to extract text from images into editable format.
Using a physical scanner connected to your computer allows for better quality scans of thicker documents like receipts or invoices that can be difficult to capture clearly on a phone camera alone.
Scanning directly to the Photos app first before importing from there into TeraBox gives you a local copy as a backup if network issues disrupt the upload.
While other scanners are great, using TeraBox is like getting two for the price of one. It not only can automatically backup your phone files, easing storage stress, but also lets you store and enjoy videos, stream them online, and listen to music, all in one go.
Storing Your Scans
With just a few taps on your iPhone, you can transform physical documents into organized digital files. Furthermore, TeraBox’s cloud storage guarantees the safe storage and easy accessibility of your scanned documents whenever you need them. You can stop worrying about misplacing crucial documents or overcrowding your device with numerous files.
So why settle for anything less? Make the smart choice and start scanning with TeraBox today!
